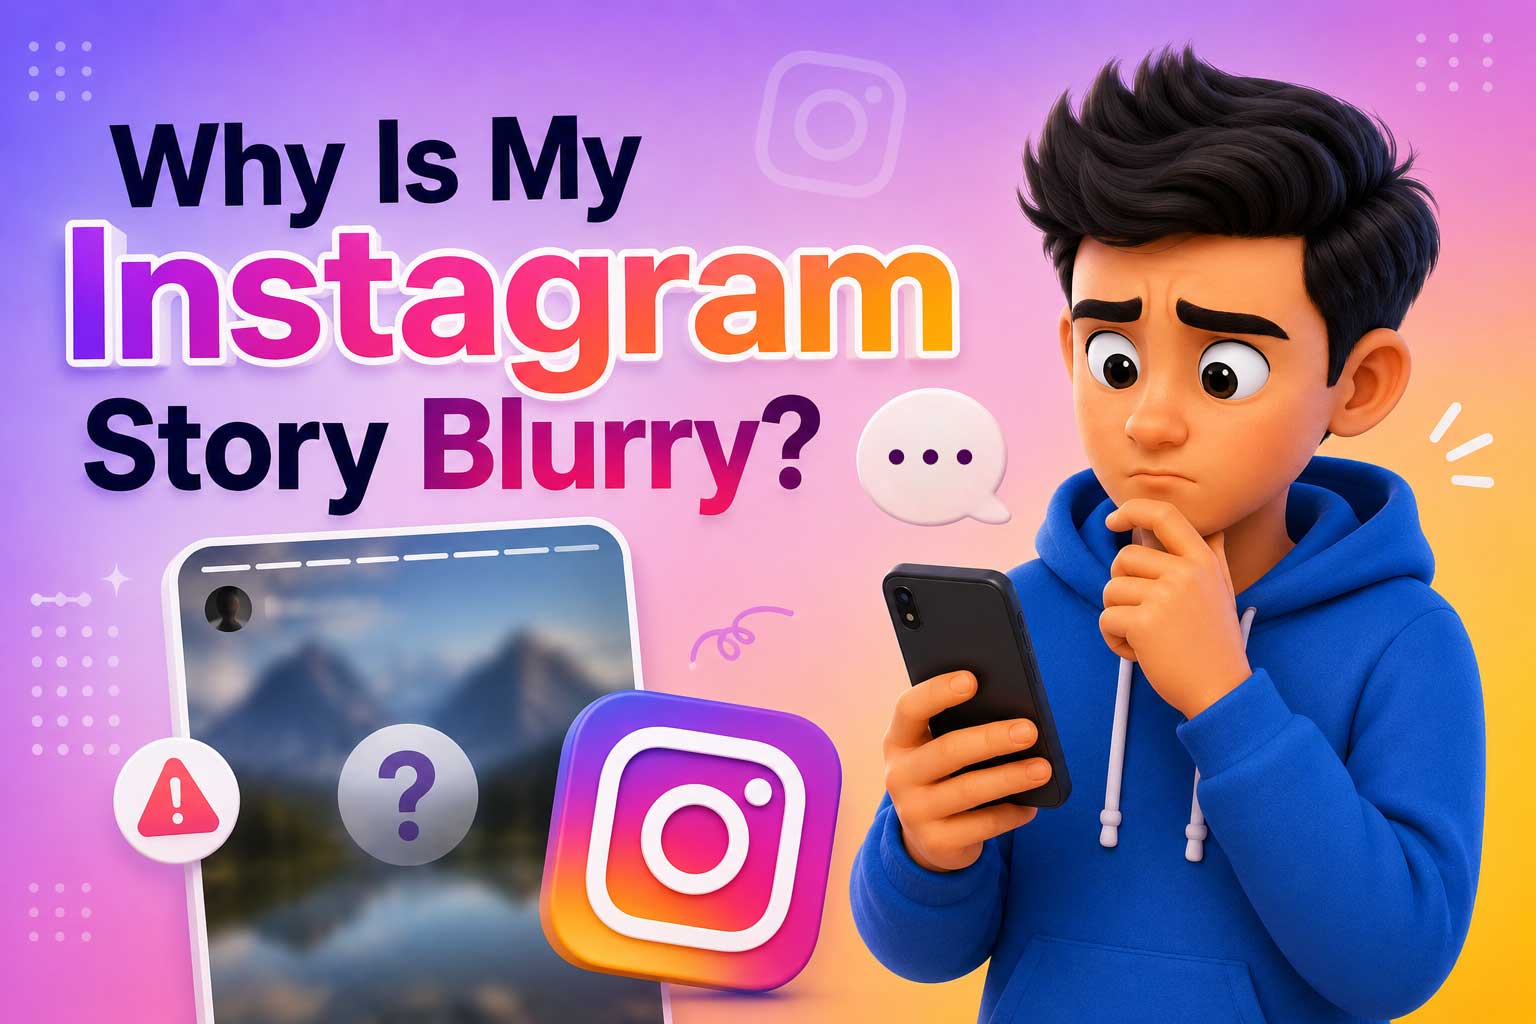
An Instagram Story can look blurry because of image or video compression, a weak internet connection, Data Saver, or incorrect file dimensions. Instagram reduces file size when uploading Stories, which can make clear photos and videos look less sharp. Using a low-quality file or the wrong format can also make the problem worse.
Most blurry Story problems can be fixed with a few simple changes. Better upload settings, a stronger connection, and the correct dimensions can help keep photos and videos clearer. The sections below explain the main causes of blurry Instagram Stories and the easiest ways to improve their quality.
The Main Causes of a Blurry Story
Several things can make an Instagram Story look blurry after posting. The most common causes are related to upload settings, internet speed, image size, and editing.
-
Data Saver mode is on
Data Saver can reduce the amount of data Instagram uses. When this setting is on, photos and videos may not load or upload at their highest quality. Turning off Data Saver can help Instagram upload better-quality Stories, especially when using mobile data.
-
Weak connection at the moment of posting
A slow or unstable internet connection can affect the upload process. Instagram may lower the quality of a Story so it can upload more easily. This is more common with videos or larger files. Uploading while connected to a strong Wi-Fi network can help prevent this problem.
-
Wrong dimensions
Instagram Stories are designed for a 1080 × 1920 pixel vertical format with a 9:16 ratio. Using a different size can cause Instagram to resize the file during upload. That extra resizing can make the photo or video look softer or less sharp.
-
Re-editing inside the Story editor
Editing a photo or video again inside Instagram can sometimes reduce its quality. Pinch-zooming, resizing, or adding several stickers and effects may cause Instagram to process the file again. A file that was already compressed before upload can become even less clear after these extra edits.
How to Fix It Before You Post
A few simple changes before uploading can help keep an Instagram Story clear and sharp. Use this checklist before posting:
- Turn off Data Saver.
Open Instagram settings and check the Data Saver option. When Data Saver is enabled, Instagram may use less data when loading or uploading content. Turning it off allows Instagram to use more data for higher-quality uploads. - Enable “Upload at highest quality”.
Look for the “Upload at highest quality” option in Instagram’s media quality settings and turn it on. This setting tells Instagram to prioritize image and video quality when uploading. Uploads may take longer, but the final Story can look clearer. - Export the file at 1080 × 1920 pixel.
Before uploading, make sure the photo or video is formatted at 1080 × 1920 pixels with a 9:16 aspect ratio. This matches the standard Story size and reduces the need for Instagram to resize the file. - Use a strong Wi-Fi connection.
A stable Wi-Fi connection can make a difference when posting high-quality photos and videos. Avoid uploading when the connection is weak or keeps dropping. A strong connection helps the file upload properly without unnecessary quality reduction. - Check the file before posting.
Make sure the original photo or video already looks clear before uploading. Avoid repeatedly saving and re-editing the same file, as each extra edit or export can reduce quality.
Why a Saved or Downloaded Story Looks Even Blurrier Than the Original
A Story can look clear when viewed on Instagram but become noticeably blurrier after being saved or downloaded. One common reason is that the content goes through more than one compression process. Instagram already compresses photos and videos when they are uploaded to a Story. Taking a screenshot or screen recording captures that already-compressed version instead of the original file.
This creates a second quality loss. The screenshot or recording is saved as a new file, which can introduce additional compression and reduce details, sharpness, and video quality. The same double-compression problem can happen with Instagram Highlights, where content may already have been processed before it is viewed or saved again.
The easiest way to avoid this extra loss is to use the original photo or video file whenever possible. Instead of capturing the Story from the screen, save it directly instead of screen recording so there is no unnecessary second compression step. This is especially useful when the goal is to keep the highest possible quality for reposting, editing, or storing the Story.
For the best result, keep the original file before uploading it to Instagram. A downloaded copy can only preserve the quality that remains after Instagram’s processing, while the original file avoids that additional loss altogether.
Saving Stories Before They Expire
Instagram Stories normally disappear after 24 hours, so screen recording may seem like an easy way to save one. However, it is often slower and lowers the quality. Instagram has already compressed the original photo or video when it was uploaded. A screenshot or screen recording captures that processed version and creates another file, which can cause a second round of quality loss. The result may look softer, blurrier, or less detailed than the Story itself.
Downloading the original Story file is a better option when available. It is usually faster than playing the entire Story and recording the screen, and it avoids adding another unnecessary compression step. This is especially useful for videos, where screen recording can also affect resolution and overall clarity.
The same idea applies to Stories that are no longer active. If it’s already in their Highlights, it can be saved using a Highlight Downloader instead of relying on a screenshot or screen recording. This makes it easier to keep the best quality available from the saved Story while avoiding extra processing.
FAQ
- Why does my Story look fine in the editor but blurry once posted?
A Story can look clear in the editor but become blurry after posting because Instagram compresses photos and videos during upload. A weak connection, Data Saver, or incorrect dimensions can make the quality loss more noticeable. Using 1080 × 1920 pixels and enabling “Upload at highest quality” can help.
- Does adding music make Stories blurrier?
Adding music by itself does not normally make a Story blurry. However, Instagram may process the Story again when music, stickers, filters, or other effects are added. If the original file is already low quality or heavily compressed, this extra processing may make the final Story look less sharp.
- Why does a Story I screen-recorded look worse than the one I saw?
Screen recording captures the already-compressed version shown by Instagram. The recording creates another file and may apply additional compression, which can reduce sharpness and detail. This is why a screen-recorded Story can look worse than the original Story.
- Can I get a Story in its original quality after it’s posted?
Usually, the best way is to find the original photo or video file used for the Story. Once Instagram has compressed a Story, the original quality cannot be fully restored from the posted version. Saving the original file before uploading prevents this quality loss.